7 Ways To Improve Your Food Photography When Traveling
When traveling, food is a huge part of the adventure. When telling stories about travel, food photography is a great way to share.
Shares
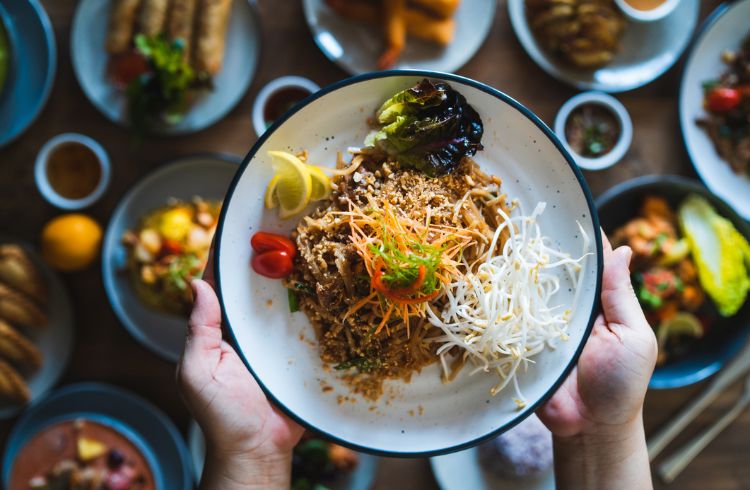 Photo © Getty Images/Nazar Abbas Photography
Traveling and eating new things go hand-in-hand, and discovering local food is a great way to connect with locals and understand their traditions.
These tips will help improve your food photography results, but always keep an eye out for new approaches to shooting your dishes and let your imagination be your guide. Food photography takes dedication. But when it comes to getting great photos of food, the bad news is that dedication to achieving the perfect shot might mean eating your food once it’s gone cold.
- Food is the story
- Make it look good enough to eat
- Light it right
- Be original with framing
- Choose the right lens
- Useful extra tools
Food is the story
When taking a photo of the pad Thai you just got at a local market, you are shining light on part of Thailand’s rich culture and legacy. The art of cooking is sprinkled through stories of colonization, war, independence, and migration along with the spices, ingredients, tastes and textures from around the world mixed in a single dish.
Take advantage of everything that you have at hand to create a context for your dish: objects such as cutlery, glasses, grinders, tablecloths, cups and jars will tell a lot about the location or region where the recipe comes from. If you add some of the key ingredients and dressings to the frame, you will be giving clues about the origins and variations of this delicacy.
Make it look good enough to eat
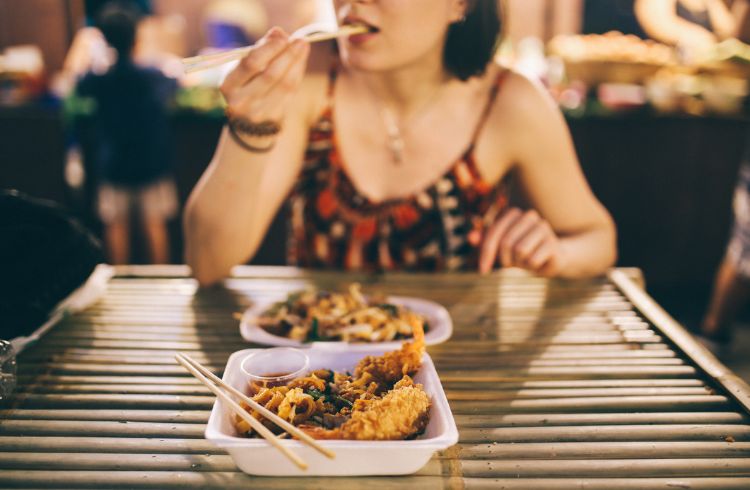
Once you get your food order, the first thing to do (yes, before you try a bite) is to find the main subject of your photo and to make it stand out by creating a background that works together – but does not compete – with it. The trick is to set up the table in a way that you get the best out of textures, colors, patterns and lines.
There are no rules of thumb, but great contrast can be achieved by positioning your dish over dark or neutral backgrounds, while patterns and lines can be smartly used to drive the eyes to the main object. Bright colors will catch the eye so it’s wise to keep them to the center of attention of your composition.
When introducing complementary items to tell your story be careful not to oversaturate the frame with too much information – you still need your dish to be the protagonist.
Light it right
Food is enjoyed by your eyes first. To achieve a great food photo, it’s essential to understand how light interacts with, and affects food. A photo of food with poor light can make the best dish look unappealing.
If you are traveling, you might not have packed your fancy lighting equipment so rather than your camera flash or phone torch, natural light will be your best ally. A good strategy to get interesting and soft natural light on your subject is to place it close to a window and, at the same time, protect it from being hit by direct hard light. You can use any kind of diffuser that you may have close by, for example, a white curtain. Avoiding deep blacks is also important to make the dish stand out: any other white object – such as a sheet of paper – will work to reflect light into the shadows.
Be original with framing
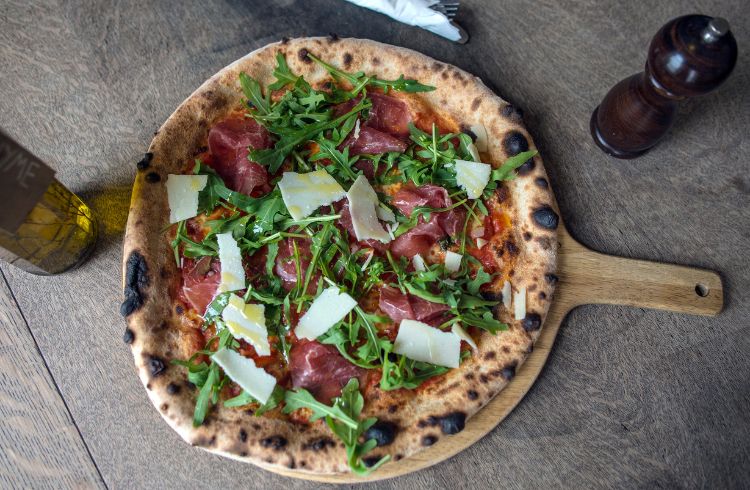
Once you have the light you want for your shot, it’s time for action. Play around with as many frames as you can. Try the popular overhead, from-the-table and side shots but also get creative and locate your point of view at different angles. Whatever shot you try, keep an eye on getting the horizon leveled. Always remember that food photography is not just about the dish, but also about its story and where it comes from. A rich set of wider shots that put things in context will result in more powerful details.
And keep in mind the less is more rule: get rid of anything that adds noise or distraction to the story you want to tell.
Choose the right lens
When it comes to lenses and traveling you should also think about weight.
Generally speaking, prime lenses are the best: they are faster, sharper and lighter than zoom lenses. They will allow you to achieve a shallower depth of field which for food photography looks amazing, but at the same time, they offer just one focal length per lens. This is a big downside when traveling unless you are up for carrying a lot of weight distributed in various prime lenses, which would be the only way to achieve cool details but also wider context shots.
On the other hand, a zoom lens such as a 24-70mm f2.8 will offer you a great variety of possible shots still with a beautiful and fast aperture in just one lens, meaning less weight and less hassle – no need to change lenses, no worries about potentially getting your camera’s sensor dirty.
Useful extra tools
Besides your camera and lenses, there are some other light and affordable accessories that can help you overcome unexpected situations with style.
A tripod is always handy to avoid camera shake, especially if you are shooting with low light during dinner. If that’s too heavy, you can always look for the lighter option of a mini tripod but just make sure it’s strong enough to support the camera you will be shooting with.
ND Filters can be attached to your fast lenses to be able to shoot at a low aperture like f1.4 even in bright conditions. By taking a couple of ND filters with you on your trip, you will make sure you can shoot at a shallow depth of field no matter what.
Depending on where you travel to, a camera raincoat could be a must especially if you are going to a tropical area and don’t want to come back from your trip either with no photos at all or with a sunken camera.
Related articles
Simple and flexible travel insurance
You can buy at home or while traveling, and claim online from anywhere in the world. With 150+ adventure activities covered and 24/7 emergency assistance.
Get a quote
1 Comment
Waooow amazing very good